How to Lay Floor Tiles in Your Kitchen or Bathroom: A Step-by-Step Guide
Are you looking to upgrade your kitchen or bathroom flooring with elegant and durable tiles? If so, you’ve come to the right place! Laying floor tiles may seem like a daunting task, but with the right preparation and a bit of patience, you can achieve professional-looking results. In this step-by-step guide, we’ll walk you through the process of laying floor tiles in your kitchen or bathroom.
Materials you’ll need:
>>> Floor tiles of your choice
>>> Tile adhesive
>>> Notched trowel
>>> Tile spacers
>>> Tile cutter or tile saw
>>> Measuring tape
>>> Level
>>> Pencil or chalk
>>> Grout
>>> Grout float
>>> Sponge
>>> Bucket for water
Step 1: Prepare the Surface
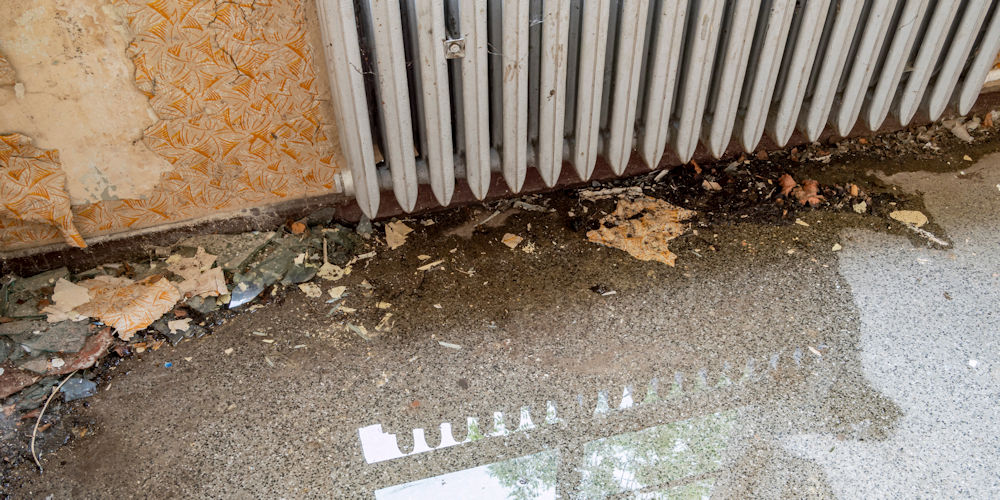
Ensure that the floor is clean, dry, and free of any debris. If there are any uneven areas or cracks, consider using a leveling compound to create a smooth surface for the tiles. Use a level to check for any slopes or unevenness.
Step 2: Plan the Tile Layout
Start by planning the layout of your tiles. Measure the dimensions of the room and mark the center point with a chalk line. Lay out a few tiles dry (without adhesive) along the centerline to see how they will fit. This will help you avoid having tiny tile pieces at the edges of the room.
Step 3: Apply Tile Adhesive
Using a notched trowel, spread tile adhesive over a small section of the floor. Start at the centerline and work outward. Use the notched edge of the trowel to create grooves in the adhesive; this will help the tiles adhere better. Only spread enough adhesive for a few tiles at a time to prevent it from drying out before you lay the tiles.
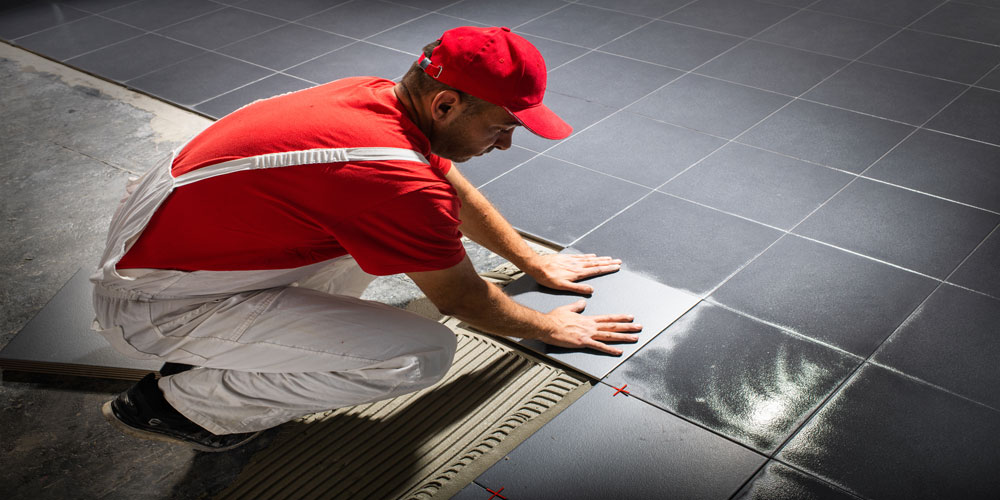
Step 4: Lay the Tiles
Carefully place the first tile at the center point and press it gently into the adhesive. Add tile spacers around the tile to ensure even spacing between tiles. Continue laying tiles, working from the center outwards. Use a slight twisting motion as you set each tile to ensure a strong bond with the adhesive.
Step 5: Cut Tiles to Fit
At the edges and corners, you may need to cut tiles to fit the space. Use a tile cutter or tile saw to make precise cuts. Measure each space carefully and mark the tiles before cutting them.
Step 6: Allow Adhesive to Set
After laying all the tiles, allow the adhesive to set according to the manufacturer’s instructions. This usually takes 24 hours. Avoid walking on the tiles during this time.
Step 7: Grouting
Mix the grout according to the package instructions. Using a grout float, spread the grout over the tiles at a 45-degree angle, pressing it into the spaces between the tiles. Remove excess grout with the float, being careful not to pull it out from the spaces. Let the grout dry for about 20-30 minutes.
Step 8: Clean the Tiles
Once the grout has set a bit, use a damp sponge to clean the tiles, wiping away any grout haze. Rinse the sponge frequently and be gentle to avoid pulling out the grout from the spaces.
Step 9: Final Touches
After the grout has fully cured (check the curing time on the grout packaging), remove the tile spacers and fill any visible gaps with matching grout. Finally, wipe down the tiles with a clean, dry cloth to reveal the stunning new floor.
Congratulations! You’ve successfully laid floor tiles in your kitchen or bathroom. Enjoy the beauty and functionality that your new tiled floor brings to your living space. Remember, precision and patience are key to achieving professional-looking results.